Woo Hoo! A Big Project!

Discuss all things 1970 & later Airheads right here.
User avatar
melville
Posts: 1815
Joined: Tue Aug 03, 2010 8:32 am

Re: Woo Hoo! A Big Project!

Post by melville »

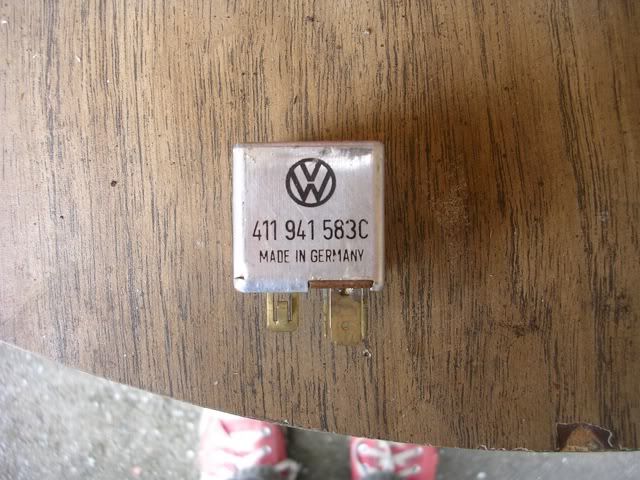
More anti-voodoo today. I realized that in addition to having no power to the headlight that my dip switch was not functioning. It would not hold the high beam position. As a new left side switch runs nearly $200, and the other functions of the switch were just fine, I thought about how I could get high beam with just an intermittent signal from the switch. Then I drove the Kombi to go surfing before dawn one morning and I realized that VW had solved my problem 40 some years ago. Voila, a 1971 VW dimmer relay:

Image

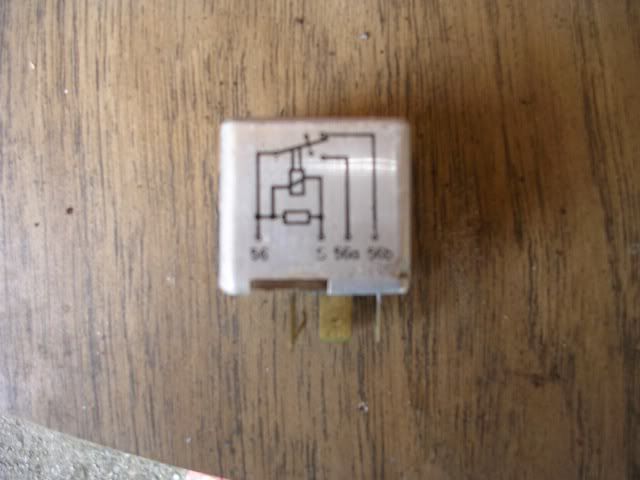
And here's the schematic:
Image

So on this one, hot comes in at 56 and goes out to 56a or 56b. The choice of where it goes changes each time S is momentarily connected to ground. S (the switch circuit) gets its hot also from 56.

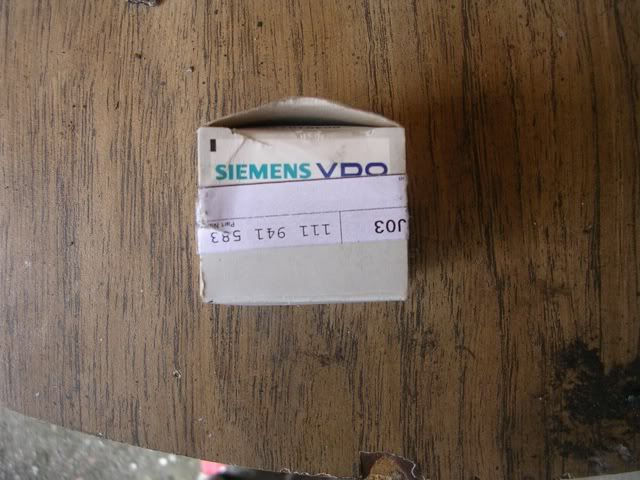
Unfortunately, this relay came from my junk pile. It stuck once and shorted inside, taking out my last German voltage regulator. So I went to my VW FLAPS and scored a new one, just $30:
Image

The part number is slightly different, and it's intended for later WCVWs so there's a tiny functional difference. Also note that it's from Siemens/VDO, which makes me smile every time I think of VDO's aftermarket ad campaign from a while ago, "Help Spread VDO!" Clearly it's now, "Help Spread VDO with Siemens!" I'll be just a minute ROFL.


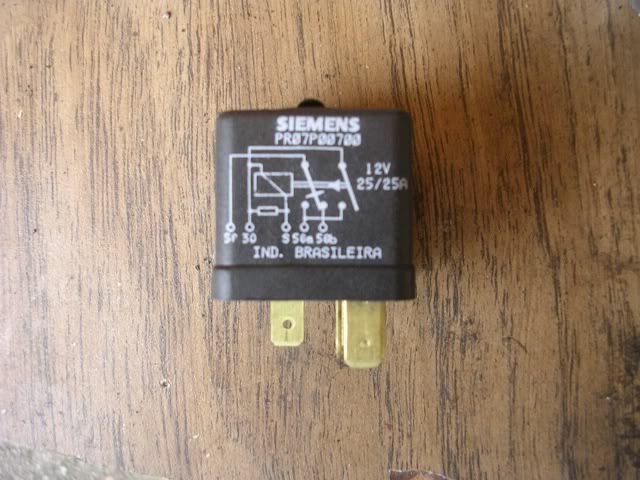
And I'm back. The schematic is different:
Image

The switch circuit needs its own hot, coming in at 30. No big deal, as I can piggyback on the headlight hot, and it will function just like the earlier one.

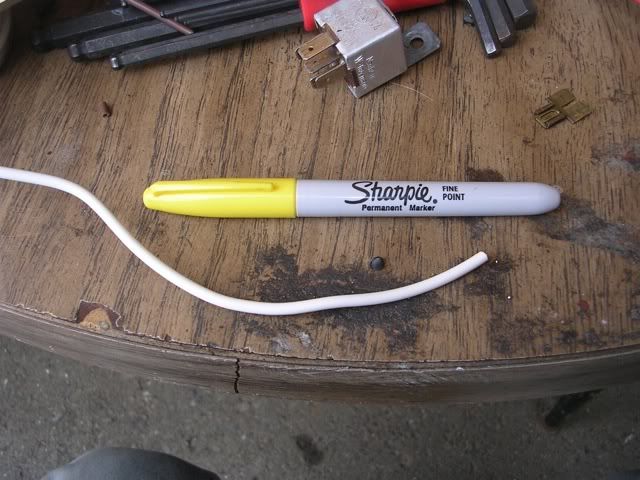
I try where I can, when I'm wiring stuff in, to match the DIN wire color. To make this one go, I needed yellow to go from 56a (low beam) to the junction board, and white to go from 56b (high beam) to the junction board. I also needed yellow/white to go from the main light relay to 56 on the dimmer relay. I didn't want to chase down a funky wire when I only needed a few inches, so I made my own yellow/white:
Image

It worked a trick:

Image

Wiring was like so: New yellow/white from 87 on the light relay to 56 on the dimmer relay. New yellow/white piggybacked from 87 on the light relay to 30 on the dimmer relay. New white from 56a on the dimmer to 56a on the junction board. New yellow from 56b on the dimmer relay to 56b on the junction board. I then connected the yellow/white from the dipswitch to S on the relay, and the white from the dipswitch to a spare ground on the circuit board. The yellow and red wires from the dipswitch are not used. They are taped up and put out of the way.

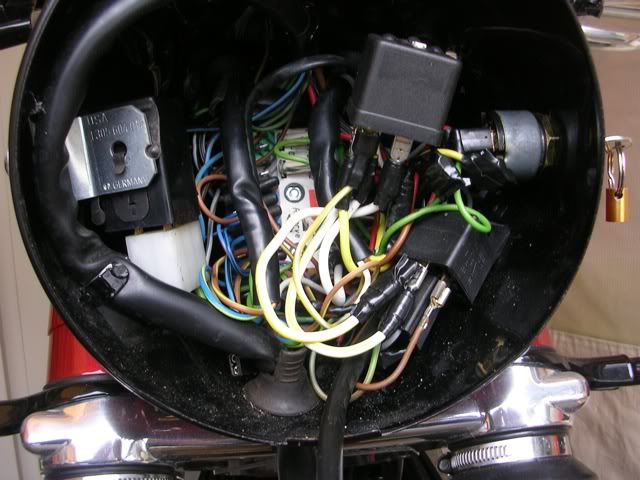
The wiring works great--just a push up on the dipswitch takes it from low to high, and the indicator light should work as I have power to the instrument plug. I'm having some issues getting the headlight to mount to this crowded shell. I may have to relocate the dimmer relay under the tank, in the space made available by the recent starter and horn relay work.
Call me Mel. Some years ago- never mind how long precisely- having little or no money in my purse, and nothing particular to interest me at home, I thought I would ride about a little and see the other parts of the world.
User avatar
melville
Posts: 1815
Joined: Tue Aug 03, 2010 8:32 am

Re: Woo Hoo! A Big Project!

Post by melville »

So there's just no getting that new dimmer relay outta the way of the actual headlight:

Image

I'm going to have to build a wee bit o' harness and stick it under the tank.

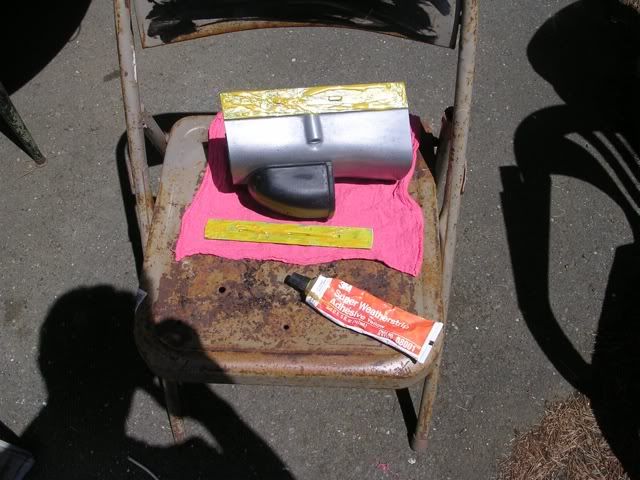
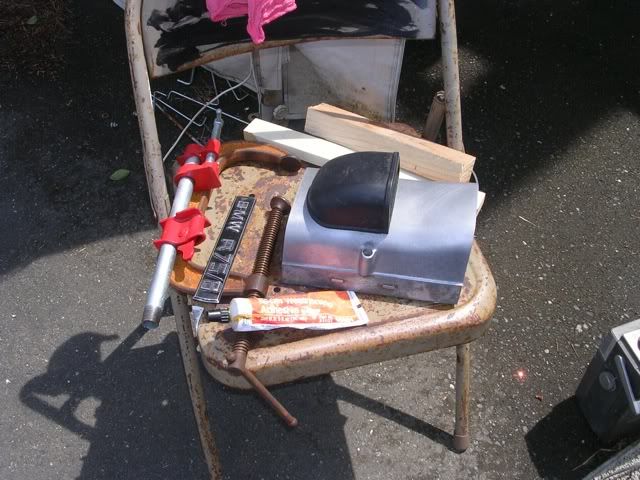
So after I found that out, I went to have fun with gorilla snot while the sun was out today. The stuff:

Image

Snot applied:

Image

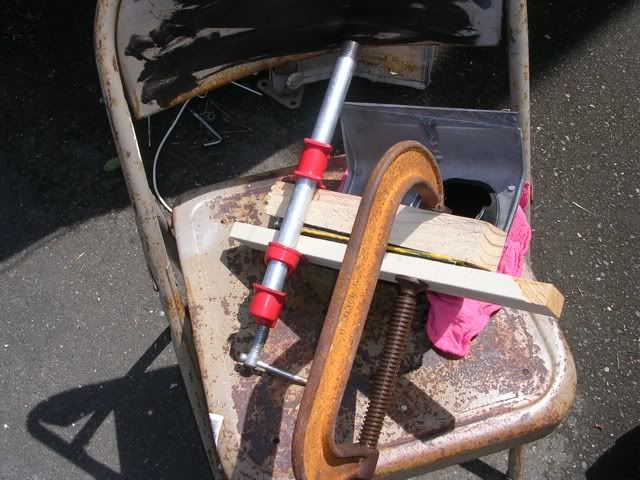
Clamped:

Image

And all mounted up:

Image
Call me Mel. Some years ago- never mind how long precisely- having little or no money in my purse, and nothing particular to interest me at home, I thought I would ride about a little and see the other parts of the world.
Major Softie
Posts: 8900
Joined: Tue Aug 03, 2010 1:46 pm

Re: Woo Hoo! A Big Project!

Post by Major Softie »

What this string needs is more pictures...
MS - out
User avatar
melville
Posts: 1815
Joined: Tue Aug 03, 2010 8:32 am

Re: Woo Hoo! A Big Project!

Post by melville »

Major Softie wrote:What this string needs is more pictures...
Well here ya go!

Those pesky electrons are going where I tell them, dammit! Got the dimmer relay relocated today.

I wanted to use proper wiring harness style loom, and when I went to look for it Monday, I got shot down everywhere. The auto electric shops were all, "Yeah, I know what you want but I ain't got it." NAPA was the same. The HD shop is open on Mondays after Memorial Day, and they sold me 48 cents of shrink wrap tubing, saying "It oughta do it" when I described the application.

Not completely happy with all that, I stopped by my local airhead guy's shop when he was open on Tuesday, and he was all "What size and how many feet?" He had the genuine stuff, and I felt much better about my prospects on this job.

The job--I started by making a bracket to hold the relay:

Image

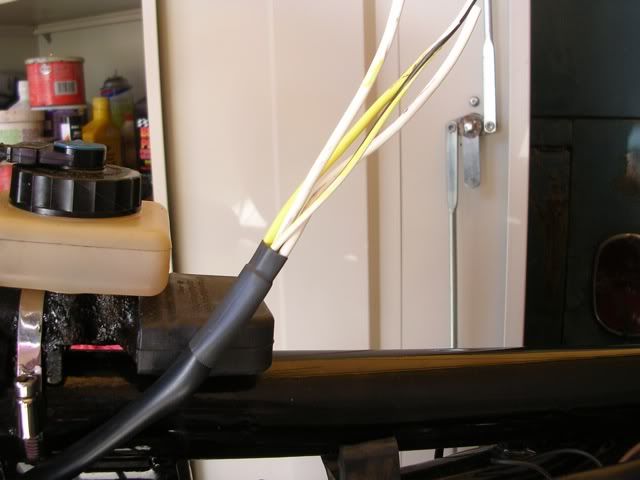
Then I got the wires into the loom, marked DIN style so I knew which was which (I used 2 cents worth of the HD shrink tube on each end of the loom):

Image

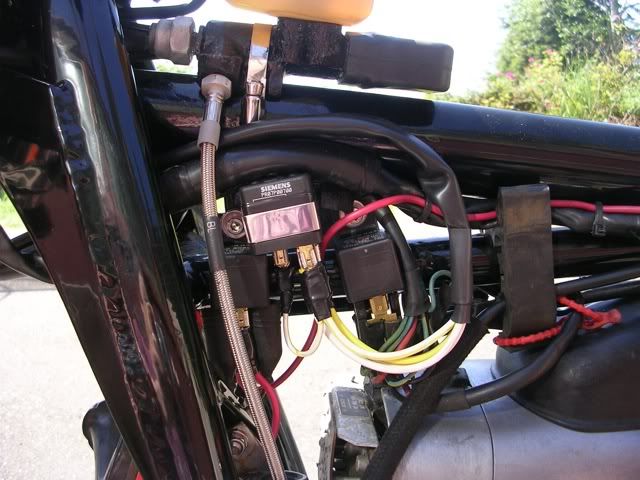
Then got it all mounted and wired up:

Image

Ta Da! The headlight now fits, and has high and low beam at the touch of a button:

Image

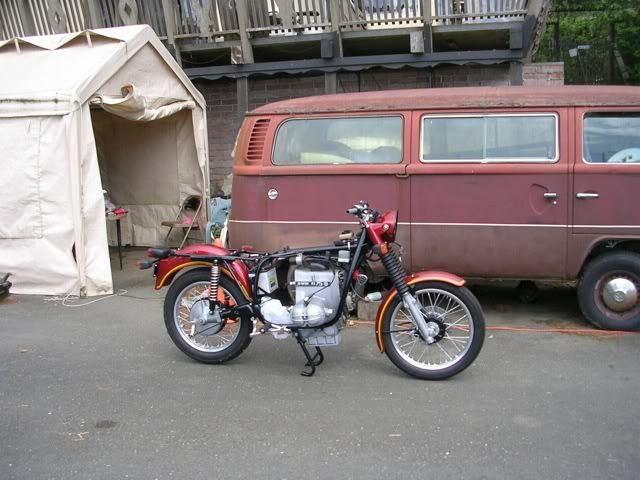
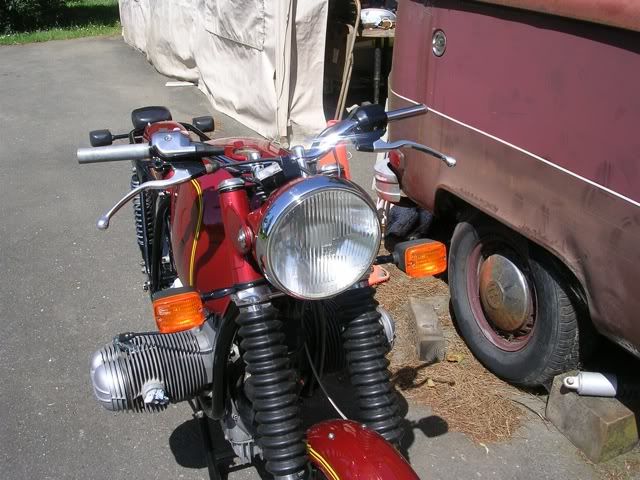
And a couple wide shots, one with the tank on to make sure everything fits:

Image

Image

If I'm up early enough, I'll check the aim of the headlight.
Call me Mel. Some years ago- never mind how long precisely- having little or no money in my purse, and nothing particular to interest me at home, I thought I would ride about a little and see the other parts of the world.
Major Softie
Posts: 8900
Joined: Tue Aug 03, 2010 1:46 pm

Re: Woo Hoo! A Big Project!

Post by Major Softie »

Yay! More pictures!!!
MS - out
User avatar
melville
Posts: 1815
Joined: Tue Aug 03, 2010 8:32 am

Re: Woo Hoo! A Big Project!

Post by melville »

So sorry, Major, to be crashing your dial-up. Continuing!

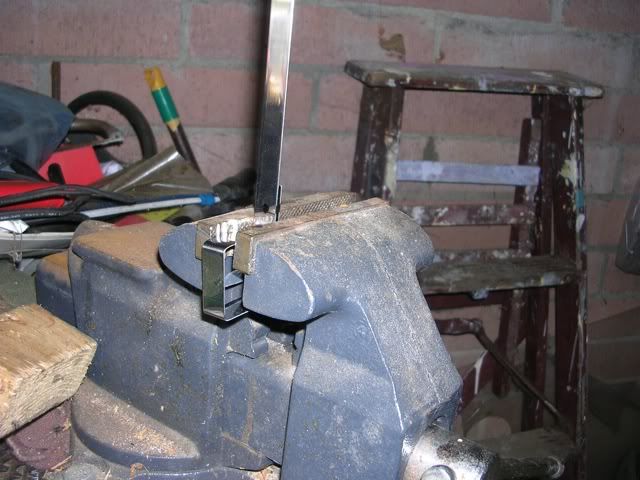
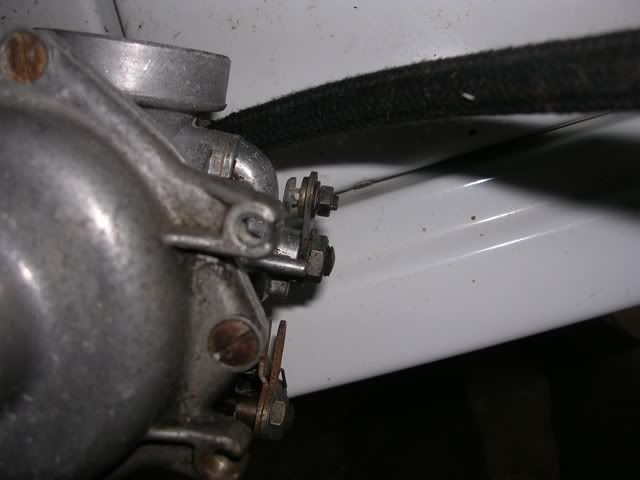
So I had some fun mit metal today! Stock, my bike had a remote choke lever, which is actually on the motor, just behind the rider's left knee. It pulls a coupla cables which terminate at a pinch bolt on each carburetor, like this one:

Image

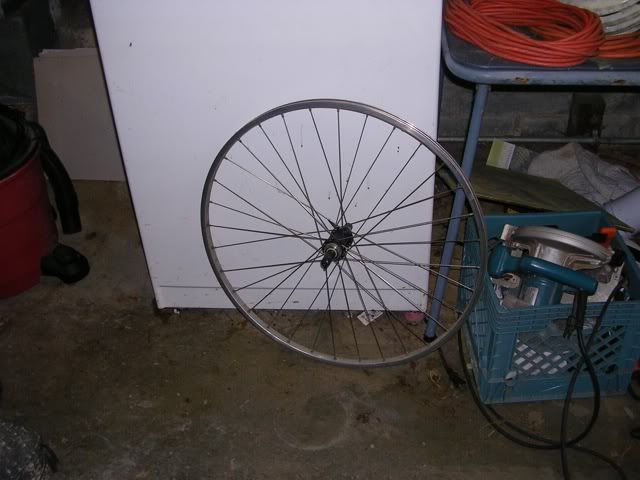
Now a pinch bolt is something quite familiar to me from my past life as a bicycle mechanic. As the cables needed replacement anyway, I wondered about how I might make the choke controls special or distinctive. I remember one guy on the old Boxerworks forum, probably Chuey, had made some out of old bicycle spokes. I have plenty of those! Here's 32 of them, only 20,000 miles:

Image

Now the first battle is to make a handle, one that I can operate mit moto gloves on:

Image

Image

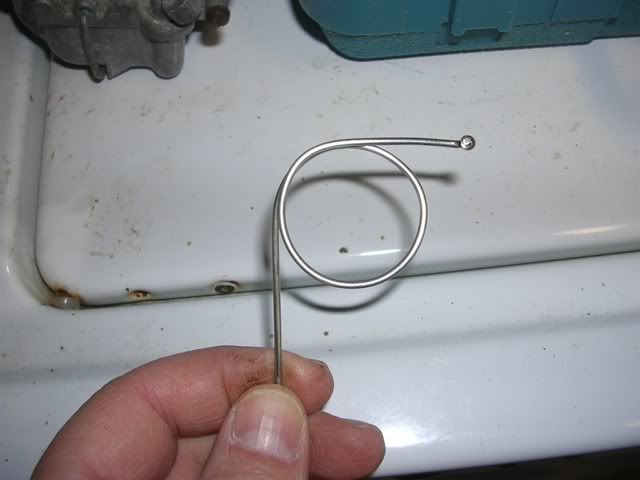
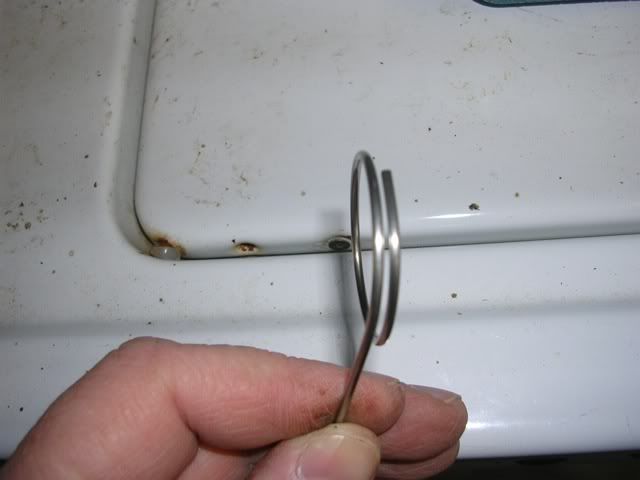
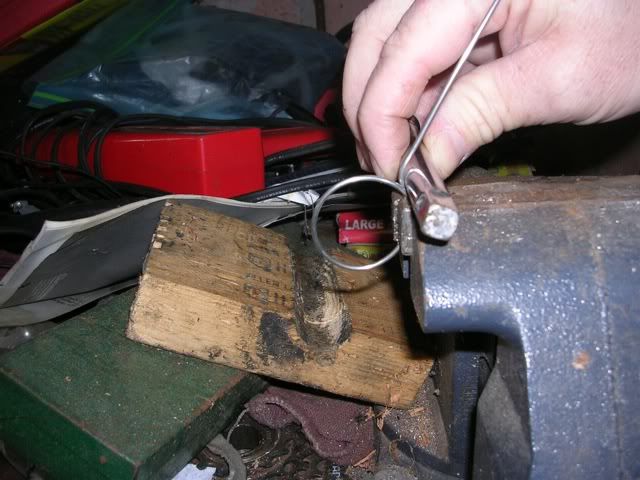
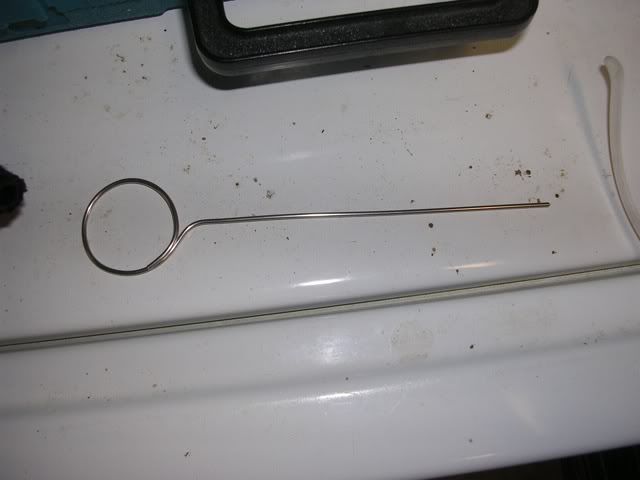
Then, to make it lollipop shaped:

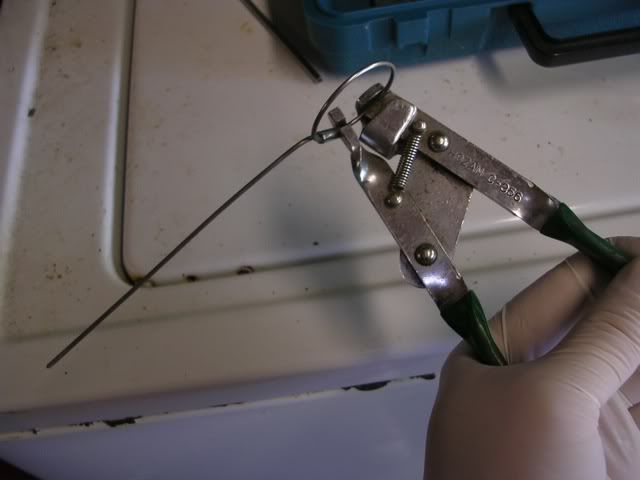
Image

Image

Image

Image

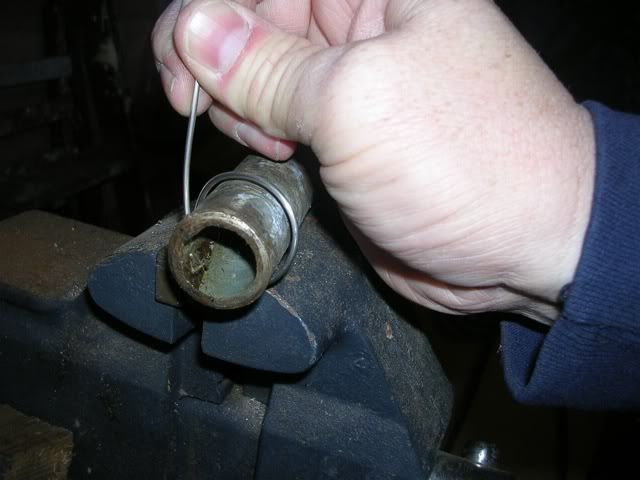
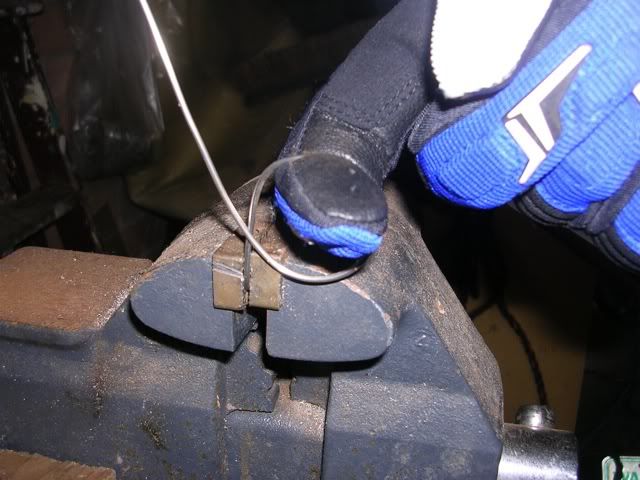
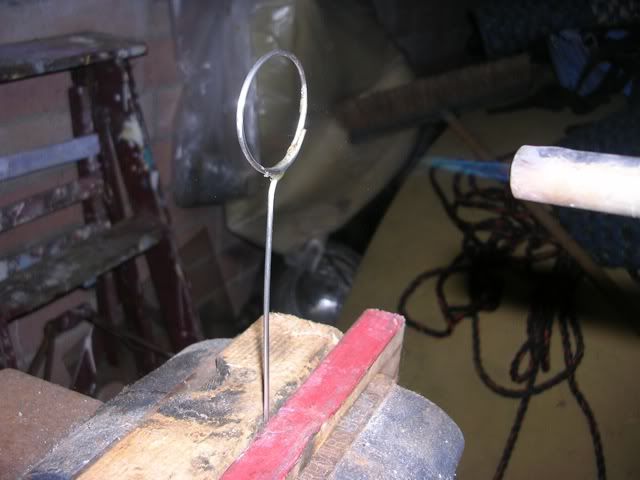
Now it was time to make the loop solid. I tried some of the limited hot metal methods available to me, and none of them would take:

Image

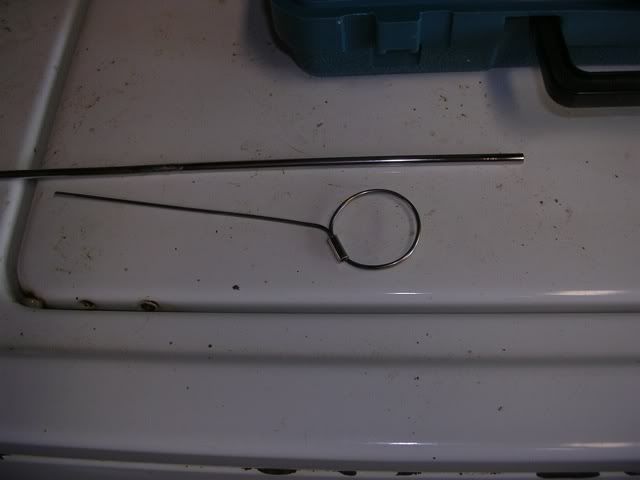
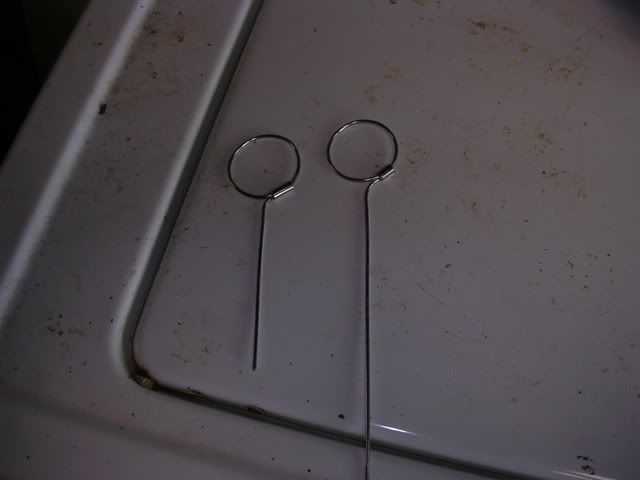
So I ended up getting some 1/8 SS .028 wall tube and making crimps out of it, reinforced with mucho JB Weld:

Image

Drawing it down:

Image

And all done:

Image

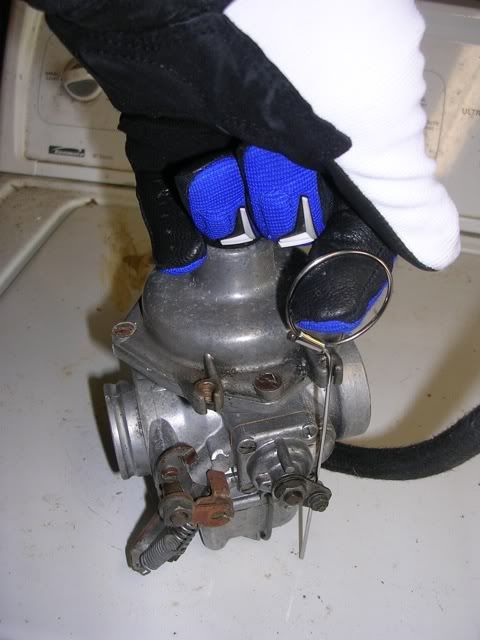
And mounted, with moto glove test:

Image

Now the more observant of you might notice that the carb in these pictures is somewhat crusty. You might be asking yourself, "How could melville stand to have such crustiness in his life?" Well, I'll tell you--it disturbs me very much, but the first thing I did on this bike was rebuild the carbs from a box of loose parts, before I started the bling-a-thon. Looking at them now, I could spend the whole summer getting them up to my standard, or


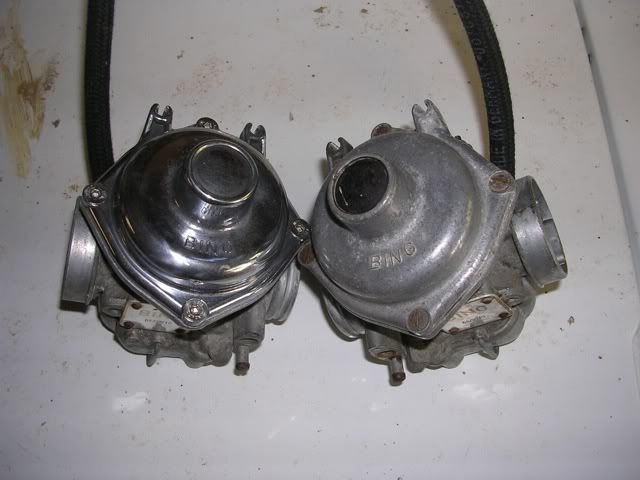
I could just bling the tops and bowls for now, and come back for the bodies the next time I rebuild them. Here's the quickie result:

Image

There's a lot of casting flash, and the deeper question of whether or not "BING" stays on the tops after the polish goes final. But that's for another day.
Call me Mel. Some years ago- never mind how long precisely- having little or no money in my purse, and nothing particular to interest me at home, I thought I would ride about a little and see the other parts of the world.
User avatar
SteveD
Posts: 4909
Joined: Tue Aug 03, 2010 3:29 am
Location: Melbourne, Oz.

Re: Woo Hoo! A Big Project!

Post by SteveD »

Hey Melville,
Your bling has only ever been surpassed by one, the master. He guided you well.
Have you tried a product called "rub 'n buff"? It's a goo that comes in a small tube, cover about 20sq feet, and works a treat cleaning up cases etc. It's about $10 a tube but does go a long way. Available on ebay, or even scrapbooking stores.
Cheers, Steve
Victoria, S.E.Oz.


1982 R100RSR100RS supergallery. https://boxerboy81.smugmug.com/R100RS
2006 K1200R.
1994 R1100GS.
Chuey
Posts: 7632
Joined: Mon Aug 02, 2010 11:56 pm

Re: Woo Hoo! A Big Project!

Post by Chuey »

Mellville, the choke wires look good. To solder stainless steel, I use silver solder and the oxy/acetylene torch.

I had to use Revolution spokes because all the others were too thick. Did you enlarge the hole to use fourteens?

Chuey
User avatar
melville
Posts: 1815
Joined: Tue Aug 03, 2010 8:32 am

Re: Woo Hoo! A Big Project!

Post by melville »

Chuey wrote:Mellville, the choke wires look good. To solder stainless steel, I use silver solder and the oxy/acetylene torch.

I had to use Revolution spokes because all the others were too thick. Did you enlarge the hole to use fourteens?

Chuey
I had trouble getting enough heat into the joint (and getting it to keep enough heat) to melt my brazing rod, which was 2X thicker than the spoke, and the silver solder I had was just running off the SS. Household plumbing this ain't! I can fiddle about and make another 30 attempts at it before I have to sacrifice another dead wheel or start using NEW spokes.

No, those are 15s. I always had 15s (and 15/16/15) in stock because I hated forcing 14s into Campy and D-A hubs. Even the 15 didn't go in until I cut the threads off it, and then it was a perfect fit.
Call me Mel. Some years ago- never mind how long precisely- having little or no money in my purse, and nothing particular to interest me at home, I thought I would ride about a little and see the other parts of the world.
Chuey
Posts: 7632
Joined: Mon Aug 02, 2010 11:56 pm

Re: Woo Hoo! A Big Project!

Post by Chuey »

The silver solder I use is about like a 14 gauge or so but it is 45% silver. That's the stuff used for silver brazing frame fittings and it's all I've ever worked with, other than brass.

Chuey
Post Reply