Page 7 of 42
Re: Woo Hoo! A Big Project!
Posted: Mon Sep 06, 2010 12:53 pm
by melville
Max Headroom wrote:Mel, please assure us that you'll be checking the valve guides as well, before re-assembling the engine?
Indeed I will. I'll also be
oiling the valve stems on reassembly. I'm not expecting any bad news, as the motor problems I have are more related to indifferent storage than wear, but I realize things could go from the hone 'n' rings I had originally figured to a whole top end.
Re: Woo Hoo! A Big Project!
Posted: Mon Sep 06, 2010 5:46 pm
by melville
melville wrote:Max Headroom wrote:Mel, please assure us that you'll be checking the valve guides as well, before re-assembling the engine?
Indeed I will. I'll also be
oiling the valve stems on reassembly. I'm not expecting any bad news, as the motor problems I have are more related to indifferent storage than wear, but I realize things could go from the hone 'n' rings I had originally figured to a whole top end.
Got the heads disassembled and cleaned today and the results of the wiggle test are fantastic. Only the right exhaust stands out, and I'll bet that it's in spec when I apply better measurement methods.
Re: Woo Hoo! A Big Project!
Posted: Sat Sep 11, 2010 10:31 pm
by Deleted User 61
*bump*
This thread was still on page one when I came here!
http://boxerworks.com/forum/viewtopic.p ... =441#p5089
Re: Woo Hoo! A Big Project!
Posted: Sun Sep 12, 2010 6:32 pm
by melville
Back at it!
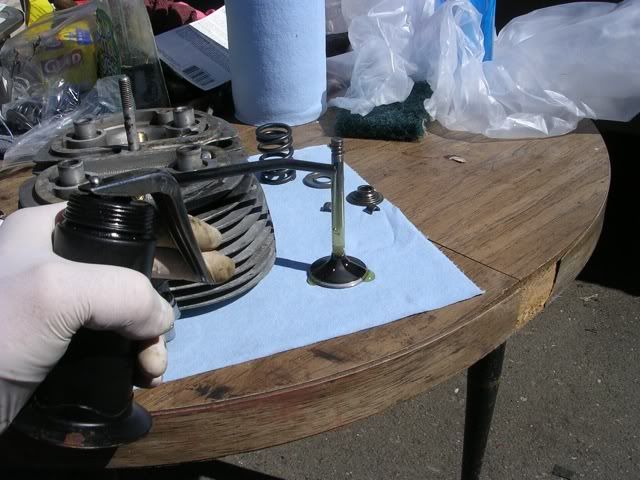
Lapped the valves lightly, just enough to get the discoloration off, then reassembled the heads.
Controversial reassembly step:
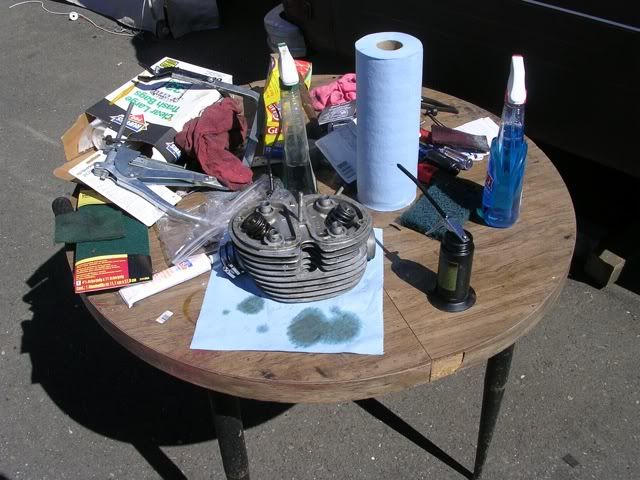
And the head back together:
The bike had been down on the right side once. Here's the more obvious evidence:
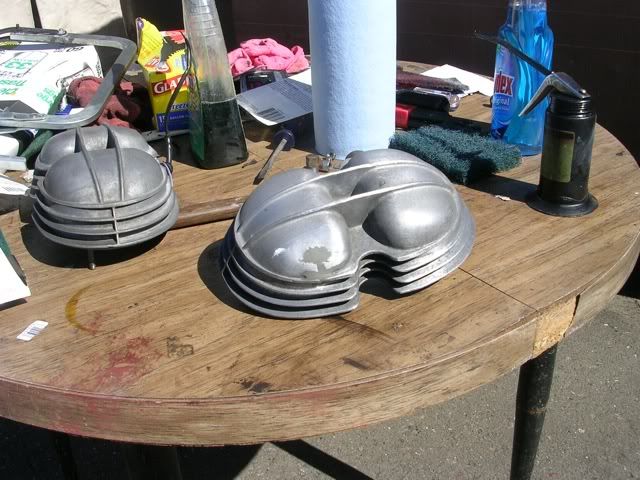
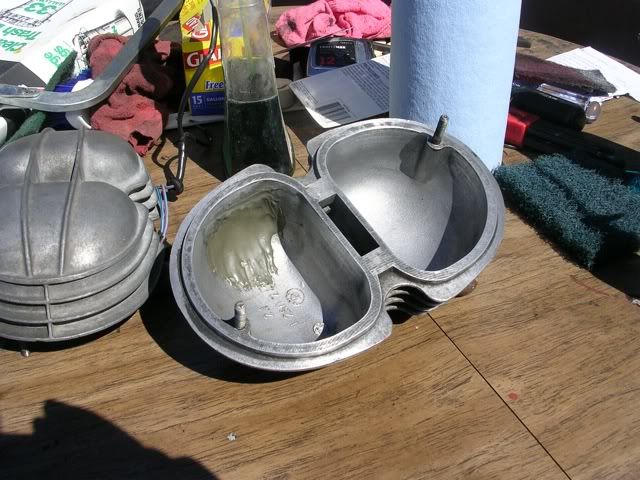
In light of that, I did not sweat the surface treatment and just cleaned the covers and applied a coat of rattlecan alu paint:
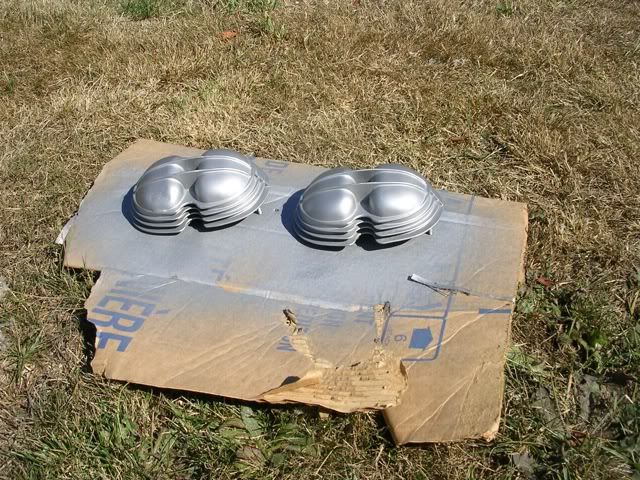
I should get the cylinders back from the machinist after payday this week and next weekend start getting the motor back together.
Re: Woo Hoo! A Big Project!
Posted: Sat Sep 18, 2010 9:37 pm
by melville
Yeah, here's the weekend and the rain has started. Got my cylinders yesterday from the machinist. Did some mellow stuff today (scored
Blood, Sweat, and Tears 3 on vinyl for $1!), and then a little bike work. Made a pushrod seal drift:
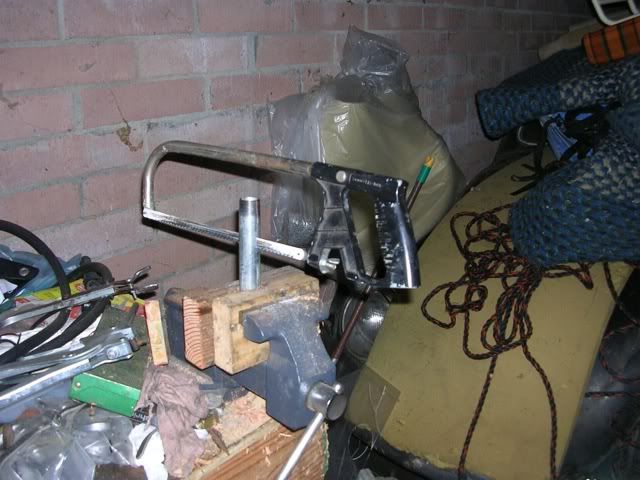
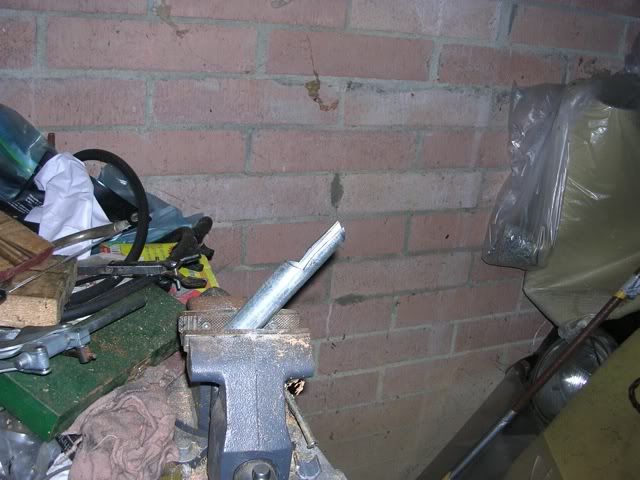
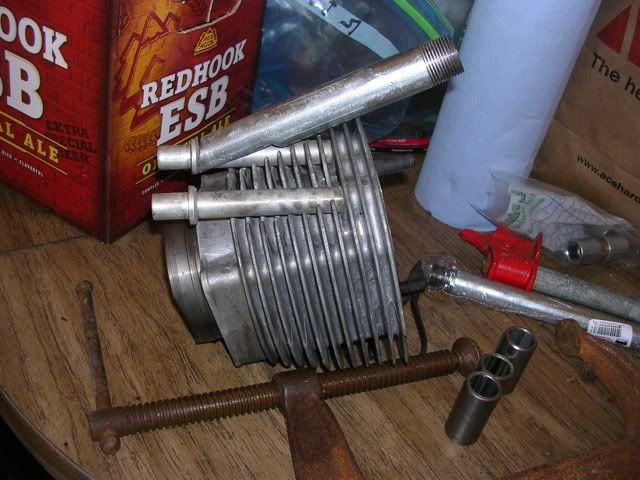
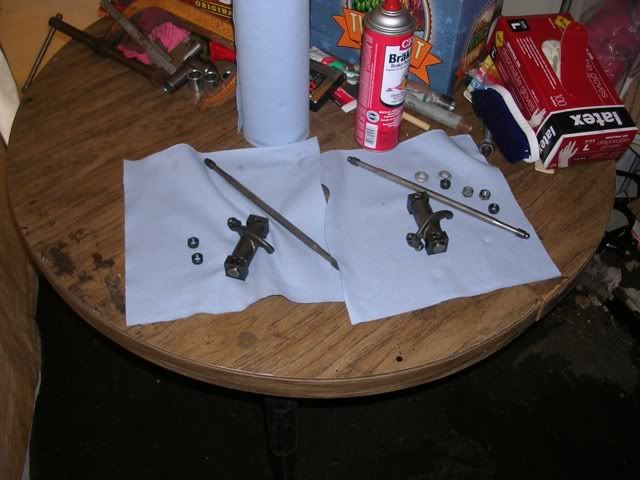
Then cleaned the right side valvetrain:
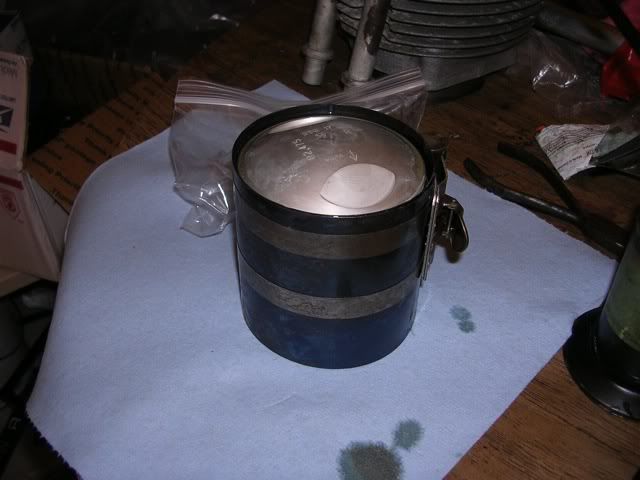
And cleaned a piston, checked ring end gaps, and got it all in the ring squeezer for assembly tomorrow:
Rocker shafts looked great--I wasn't sure if I expected needle bearings or not (1975 /6), but they are needle bearing units.
Re: Woo Hoo! A Big Project!
Posted: Sat Sep 18, 2010 9:43 pm
by Deleted User 287
I agree with Duane when it comes to airheads and ring squeezers. It is simple enough to do the rings one at a time with your fingers, since there is only one piston involved in the install. YMMV, of course!

Re: Woo Hoo! A Big Project!
Posted: Sun Sep 19, 2010 9:50 pm
by melville
justoneoftheguys wrote:I agree with Duane when it comes to airheads and ring squeezers. It is simple enough to do the rings one at a time with your fingers, since there is only one piston involved in the install. YMMV, of course!

Yeah, if I have the tool I like to use it. For other controversy, I'm a piston-in-the-cylinder first guy, then onto the rod. That's forced a bit by the ring squeezer that I have, but I'd do it that way if I had a split ring squeezer. I know for sure that I'd ding the piston if I put it on the rod first.
So the rains stopped this afternoon and I got the right side assembled today:
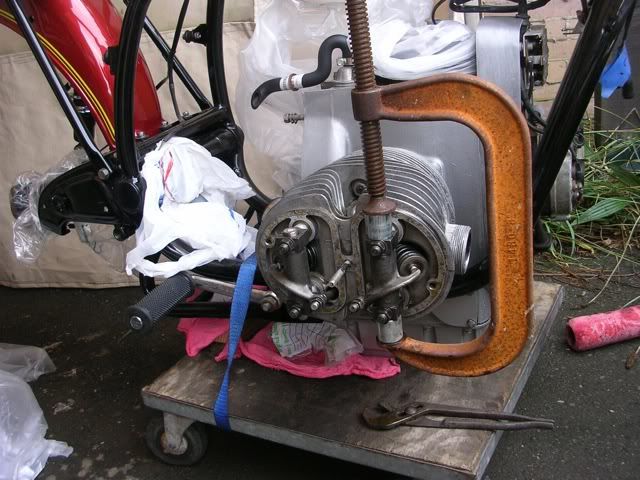
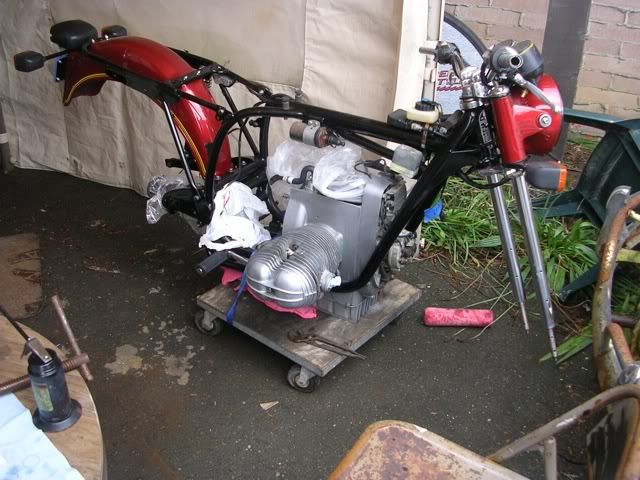
But I'm having the paranoia and will probably pull it apart before I go further, as I can't remember whether or not I fully seated the circlips.
Re: Woo Hoo! A Big Project!
Posted: Tue Sep 21, 2010 12:01 pm
by Deleted User 62

Melville, when adjusting the rocker endplay with a clamp like this, hold the clamp up a bit to make sure the pushrod is closer to the top of the pushrod tube, but not touching. Turn the engine while watching the pushrod. It is lower in the hole at valve full open. The weight of the clamp can make the assembly hang too low and the pushrod will rub the tube. DAMHIK!
Re: Woo Hoo! A Big Project!
Posted: Tue Sep 21, 2010 9:32 pm
by melville
Tim Shepherd wrote:Melville, when adjusting the rocker endplay with a clamp like this, hold the clamp up a bit to make sure the pushrod is closer to the top of the pushrod tube, but not touching. Turn the engine while watching the pushrod. It is lower in the hole at valve full open. The weight of the clamp can make the assembly hang too low and the pushrod will rub the tube. DAMHIK!
Thanks Timo!
I had in fact seated the circlip, but it was good to have it apart to attend to Timo's concern. Those things move around a lot! All beautiful now. I may get to the left side Thursday, but more likely on the wekend.
Re: Woo Hoo! A Big Project!
Posted: Sat Sep 25, 2010 7:24 pm
by melville
Here's the weekend! Left side on:
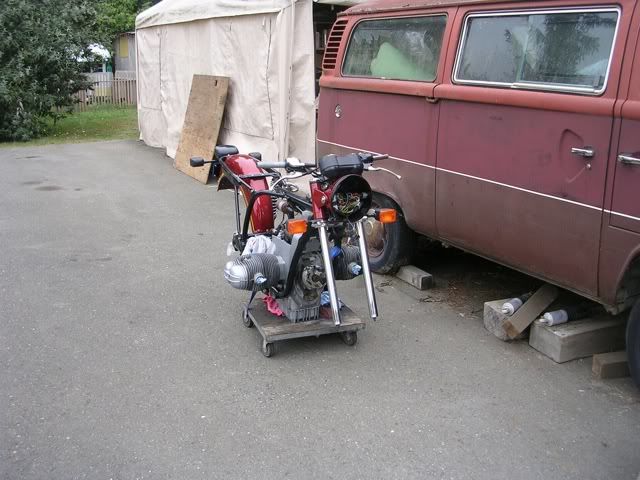
I also put two quarts of break-in oil in it. I'm going to have to check the specs for the dipstick, as two full quarts in a clean sump, not yet circulated, barely shows on the 1 litre mark of the dipstick. I think my PO installed the deep sump and kept the shallow sump DS. I'm sure there's some happy place where I'll have both more oil available AND more air volume than the stock setup.
In other good news, properly sized (4.00-18) Michelins for the rear have made it to my continent and mine should come next week. My Airhead guy has my FD and a fork leg, and he's making me a wedding band. When he gets that stuff done, I should be able to make it a roller.
I have the battery charging and if I get the chance I'm going to turn the motor over and check for cranking oil pressure and circulation tomorrow, and play with the lights.


