True that, Major, but ...Major Softie wrote:Very unique work. I like it.
BUT, this is an Airhead site, right? You are still running a Nohead.
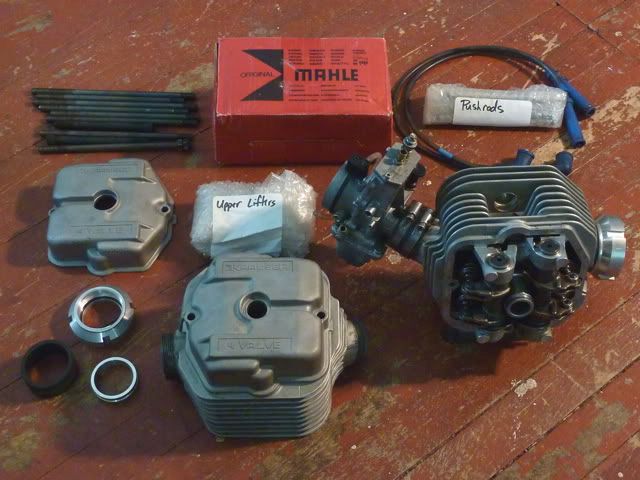
On the shelf:
True that, Major, but ...Major Softie wrote:Very unique work. I like it.
BUT, this is an Airhead site, right? You are still running a Nohead.

No brake – A vise, clamps, hammer, and torch. A hack-saw and files.Chuey wrote:... Do you have a brake or are you doing the bends in a vise? I use the vise or bend it by clamping to the wooden work bench.
I try to be well prepared simply as a matter of efficiency –Chuey wrote:... Is it possible for you to tell me how much of the work is planned and how much is stuff you come up with as you go along? Mine is pretty much winging it as I go along. I know you planned out the frame, engine, and wheels, but don't know about the rest.
Drool..... Looking good, Vanzen!vanzen@rockerboxer.com wrote:True that, Major, but ...Major Softie wrote:Very unique work. I like it.
BUT, this is an Airhead site, right? You are still running a Nohead.
On the shelf:
And that's all ya need![/quote]Flatwins wrote:[quote="vanzen@rockerboxer.com
A rubber band holds the tank in place ...
robtg wrote:
Round vacuum cleaner belts and closed cell foam padding underneath and no metal to metal contact will do it.